Tutorial: Storing Messages on BNB Greenfield
Video Tutorial at: https://youtu.be/gvMPsS_4XEI
Introducing Greenfield zkMessenger
Polyhedra Network is delighted to announce the first application of zkBridge on BNB Greenfield, Greenfield zkMessenger, integrating zkBridge Messenger with BNB Greenfield. With Greenfield zkMessenger, you can send messages with any length between multiple blockchain networks with attachments, just as easily and conveniently as you use email services in the Internet world. Our protocol ensures the security of your data by using the data availability provided by BNB Greenfield, storing your data safely in the BNB Greenfield decentralized storage network, and enabling cross-chain data availability with our zkBridge protocol for large-scale data in Web3.
In the first version of Greenfield zkMessenger, we use Greenfield SDK to store the cross-chain message on BNB Greenfield. This tutorial will help you understand how to use the BNB Greenfield SDK to store messages on BNB Greenfield. The Greenfield SDK is implemented in Go and provides several functions for interacting with the Greenfield data availability system.
Cross-Chain Messaging Principles
The concept of cross-chain messaging involves sending information from one blockchain (sender chain) to another (receiver chain). In the context of Greenfield, this is achieved by using the platform as an intermediary data store.
- Storing the Message: The first step in this process is storing the message on Greenfield from the sender chain. This is done by creating an object, where the object holds the message data. In our context, the “message” is the data we want to send across chains. This data is stored as an object in a Greenfield bucket.
- Sending the Message: Once the message is stored, a cross-chain transaction is initiated from the sender chain. The content of this transaction is the URI of the object stored on Greenfield. This URI acts as a pointer to the location of the stored message.
- Retrieving the Message: On the receiver chain, the transaction is received, and the Greenfield URI is extracted. The receiver chain can then use this URI to retrieve the message from Greenfield, thus completing the cross-chain message exchange.
This method allows for the secure and reliable transfer of data across different blockchain networks, leveraging the distributed and resilient nature of Greenfield for data storage. It’s crucial to note that the actual message content is never directly sent across chains; only the URI pointing to the location of the message on Greenfield is transmitted. This approach enables the transfer of large amounts of data, as the size of the cross-chain transaction is independent of the message size.
Tutorial: Storing and Retrieving Messages on Greenfield
In this tutorial, we will explain how to store and retrieve messages on Greenfield. The steps include:
- Setting up the client and storage provider
- Creating a bucket
- Creating and putting an object (message) into the bucket
- Retrieving the object (message) from the bucket
Before we dive into these steps, ensure that you have the following packages imported into your Go file:
Copy
import (
 "bytes"
 "context"
 "errors"
 "fmt"
 "io"
 "log"
 "time"

 "github.com/bnb-chain/greenfield-go-sdk/client"
 "github.com/bnb-chain/greenfield-go-sdk/types"
)
1. Setting Up the Client and Storage Provider
Before interacting with Greenfield, you need to set up a client and identify a storage provider. Here’s how:
Copy
account, err := types.NewAccountFromPrivateKey("test", privateKey)
if err != nil {
 log.Fatalf("New account from private key error, %v", err)
}

cli, err := client.New(chainId, rpcAddr, client.Option{DefaultAccount: account})
if err != nil {
 log.Fatalf("unable to new greenfield client, %v", err)
}

ctx := context.Background()

// get storage providers list
spLists, err := cli.ListStorageProviders(ctx, true)
if err != nil {
 log.Fatalf("fail to list in service sps")
}

// choose the first sp to be the primary SP
primarySP := spLists[0].GetOperatorAddress()
In this snippet, privateKeyrefers to the private key of the account you are using, chainID is the ID of the blockchain, and rpcAddr is the RPC address of the Greenfield service. The primary storage provider (primarySP) is selected from the list of available storage providers.
2. Creating a Bucket
Next, you’ll need to create a bucket where your messages (as objects) will be stored:
Copy
_, err = cli.CreateBucket(ctx, bucketName, primarySP, types.CreateBucketOptions{})
handleErr(err, "CreateBucket")
log.Printf("create bucket %s on SP: %s successfully \\n", bucketName, spLists[0].Endpoint)
Here, bucketName is the name of the bucket you're creating, and primarySP is the primary storage provider you've chosen earlier.
3. Creating and Putting an Object (Message) into the Bucket
After creating a bucket, you’ll need to create an object (message) and put it into the bucket:
Copy
txnHash, err := cli.CreateObject(ctx, bucketName, objectName, bytes.NewReader(buffer.Bytes()), types.CreateObjectOptions{})
handleErr(err, "CreateObject")

err = cli.PutObject(ctx, bucketName, objectName, int64(buffer.Len()),
 bytes.NewReader(buffer.Bytes()), types.PutObjectOptions{TxnHash: txnHash})
handleErr(err, "PutObject")

waitObjectSeal(cli, bucketName, objectName)Here, objectName is the name of the object (message), and buffer contains the data you're putting into the object.
4. Retrieving the Object (Message) from the Bucket
Finally, you can retrieve the object (message) from the bucket:
Copy
reader, info, err := cli.GetObject(ctx, bucketName, objectName, types.GetObjectOption{})
handleErr(err, "GetObject")
log.Printf("get object %s successfully, size %d \n", info.ObjectName, info.Size)
handleErr(err, "GetObject")
objectBytes, err :=
Tutorial for Greenfield zkMessenger
Based on the above Greenfield SDK implementation, we built our Greenfield zkMessenger, a groundbreaking cross-chain messaging platform designed for the dynamic Web3 ecosystem.
Powered by BNB Greenfield and zkBridge, Greenfield zkMessenger enables seamless communication between multiple blockchain networks with secure and decentralized data storage. The platform boasts a user-friendly interface, customizable cross-chain messaging, rich text messaging capabilities, and native Web3 integration.
Here’s a step-by-step tutorial on how to use the product at https://www.zkbridge.com/messenger
- Connect wallet before using the product
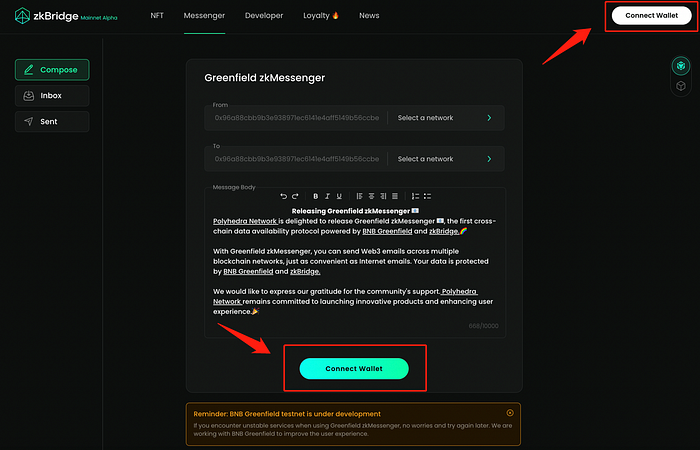
2. Select the sender chain

3. Select the receiver chain and input the recipient address (default to be same as the sender address)
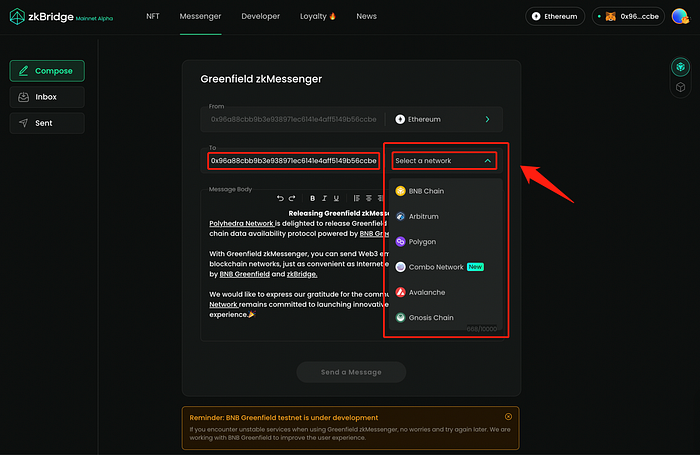
4. Input the cross-chain message and edit using the rich text editor and click on “send a message” to send the message.

5. Review the message being sent.
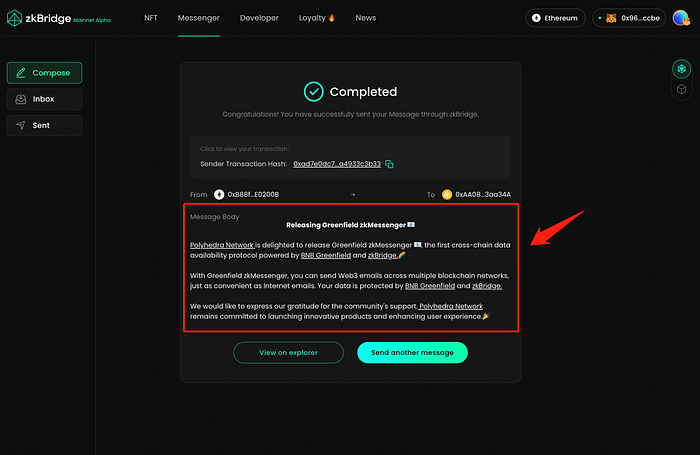
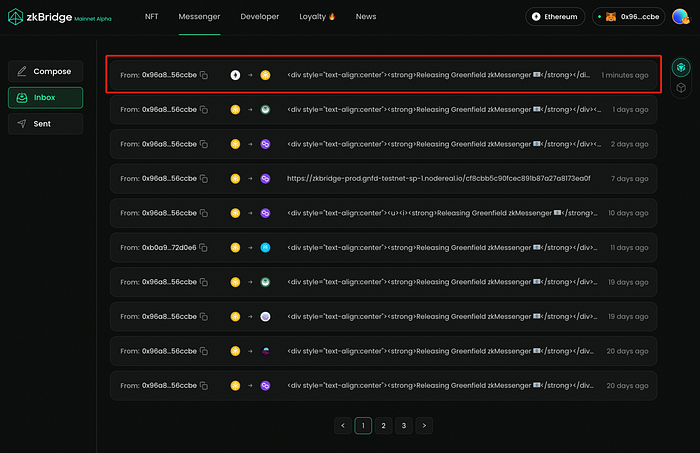
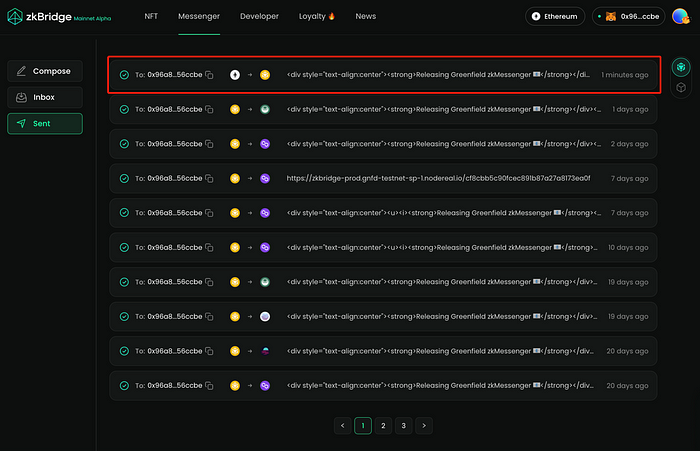
6. View the past messages in “sent” & “inbox” tab
